
Requirements
- This feature requires Strawberry version 6.0.5 or newer.
- In order to perform the below steps, you need to install the Skies Adobe panel first.
- To be able to utilize the Skies panel, Strawberry users must have the Skies
Creatortier in Strawberry. - The panel needs to be launched within Premiere and a valid login is needed.
Sequence Preparation
1. In Premiere, open an existing sequence or create a new one
2. Right-Click on the sequence and open the “Sequence Settings” option from the dropdown menu
3. Make sure to adapt the sequence settings to the usual production defaults of the company you are editing for. When in doubt, ask an Administrator or request a template project file with a preset sequence
Importing Editing Proxies
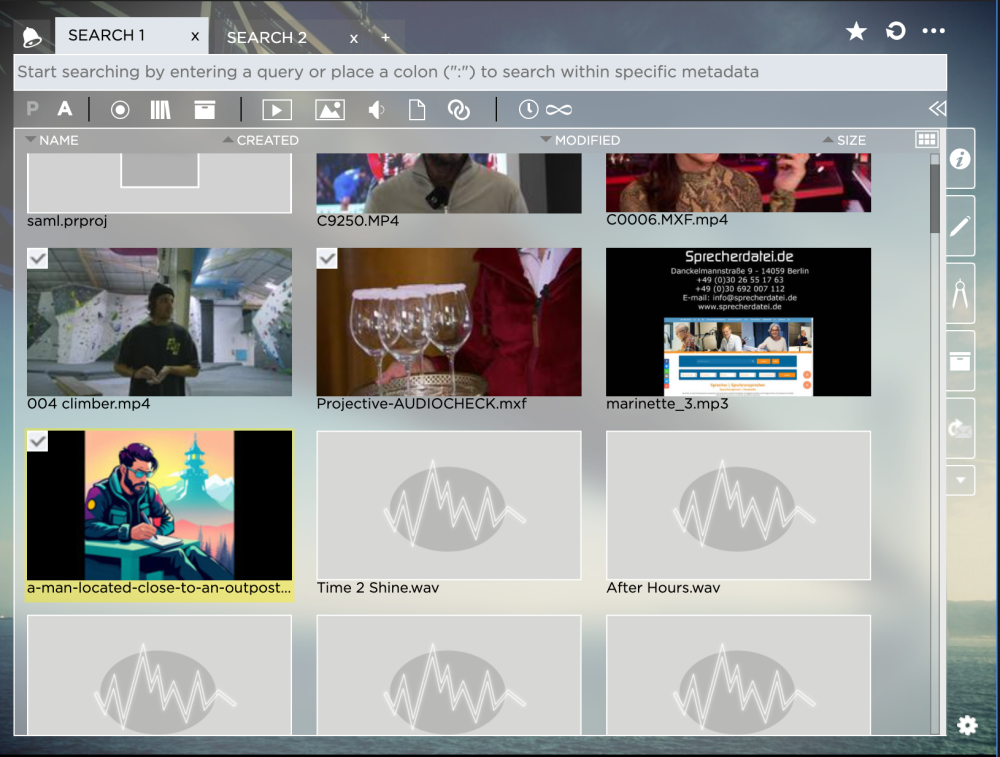
1. Navigate to the asset(s) that you wish to import. You can navigate there manually or use the panel’s search function
![]()
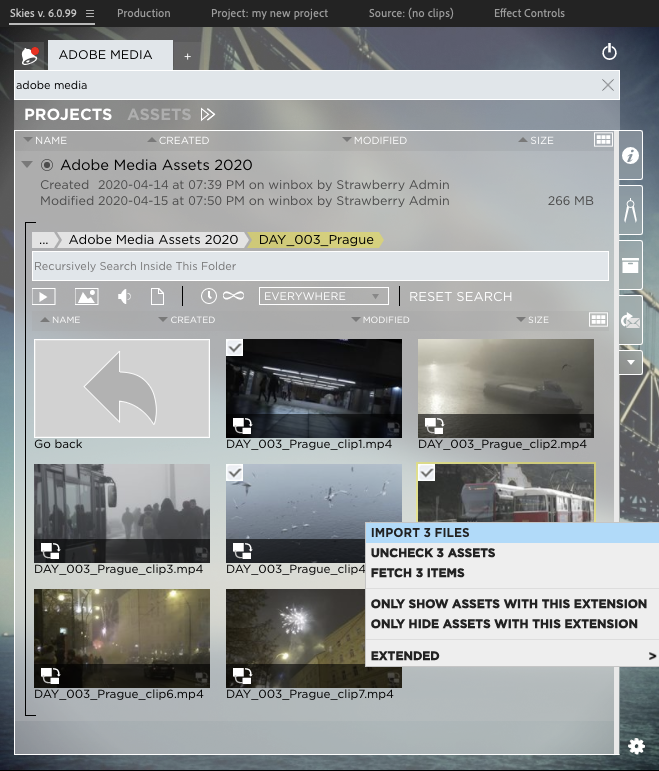
2. Select a single file by clicking on it or select multiple files by checking the box in the upper left corner. You can also import an entire directory by right-clicking on it. Please note, that this will not include subdirectories.
3. Now Right-Click on any of the selected files and click on “Import Files”
4. Once the files have been downloaded they will be immediately imported into your active Adobe Premiere project
5. Drag and drop one of the download editing proxies into the sequence created in the section Sequence Preparation above
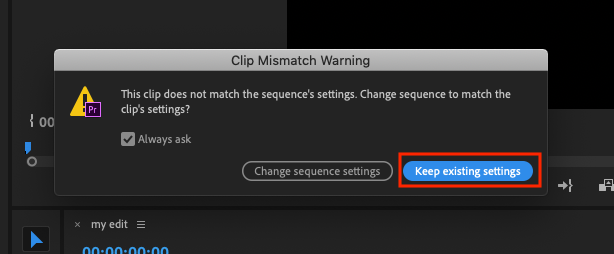
6. When prompted whether to “Change sequence settings” or “Keep existing settings” please select to keep the existing settings
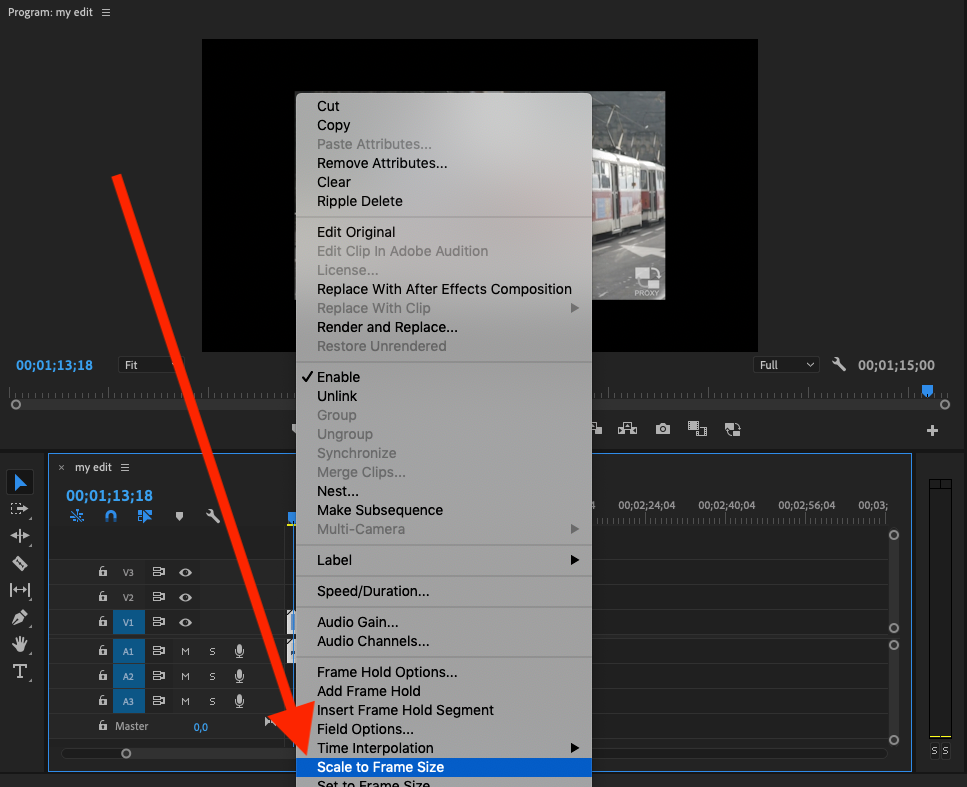
7. If you see a black frame around the clip in the sequence preview, then right-click on the clip in the sequence and then click on “Scale to Frame Size”. You need to repeat this step for every asset that you drag and drop into your sequence or your can select multiple sequence assets at once and perform the scaling on all of them simultaneously.
8. You can now start the editing process. Keep in mind to repeat the above steps for every new sequence that you create inside your project
Need more help with this?
Visit the Projective Support Websites