
1. Open the on-premise Strawberry client application and login with your credentials
2. Navigate to the Strawberry project to which the remote editing project has been uploaded
3. Open the project by clicking on the “Open” button
4. Navigate to the Premiere project file and double-click on it to open it in Premiere. The project file is located inside:
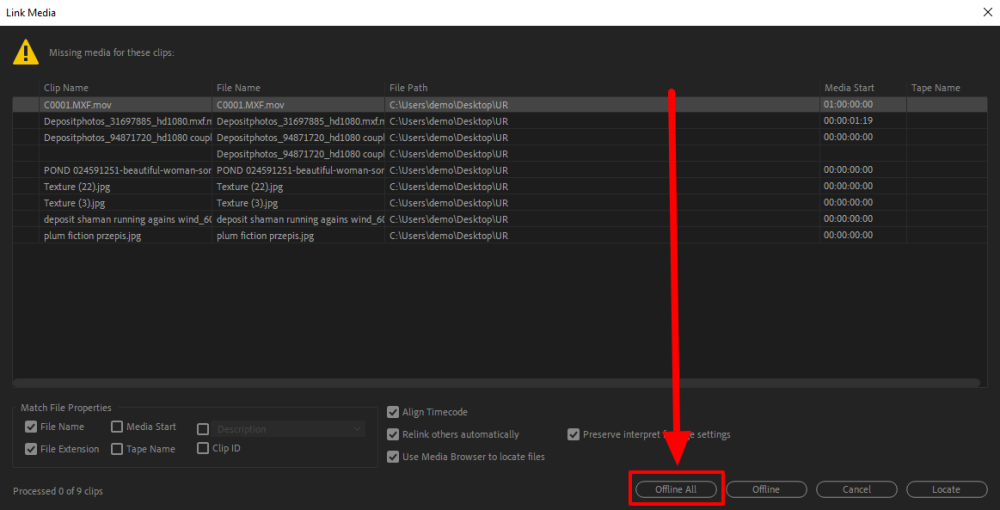
Skies Uploads\projectname-folder\date-folder\5. Once Premiere has launched, it will inform you that all of the media in the project is missing. This is normal as the editing proxies are not located in this project. They also not needed for the conforming process.
6. Click on the “Offline All” button to proceed
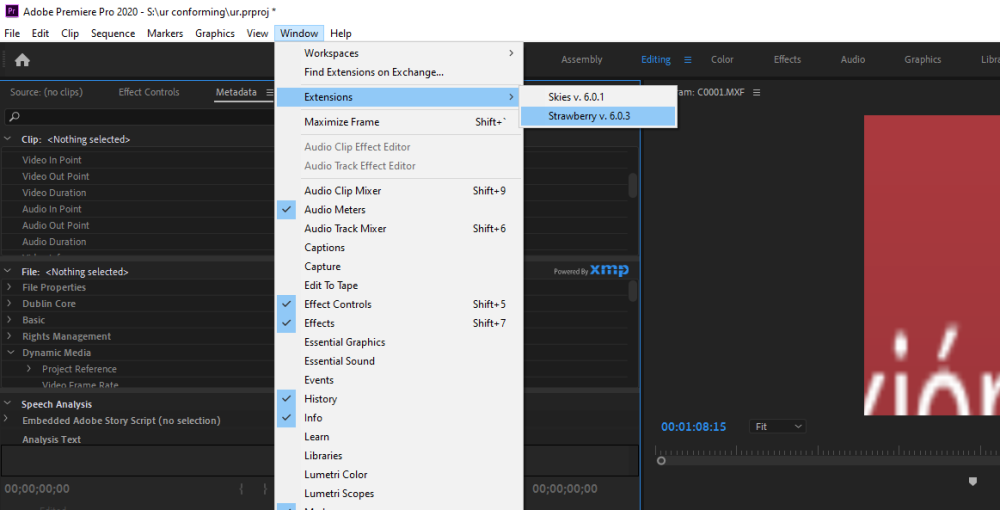
7. In Premiere navigate to “Window → Extensions” and click on the Strawberry panel extension
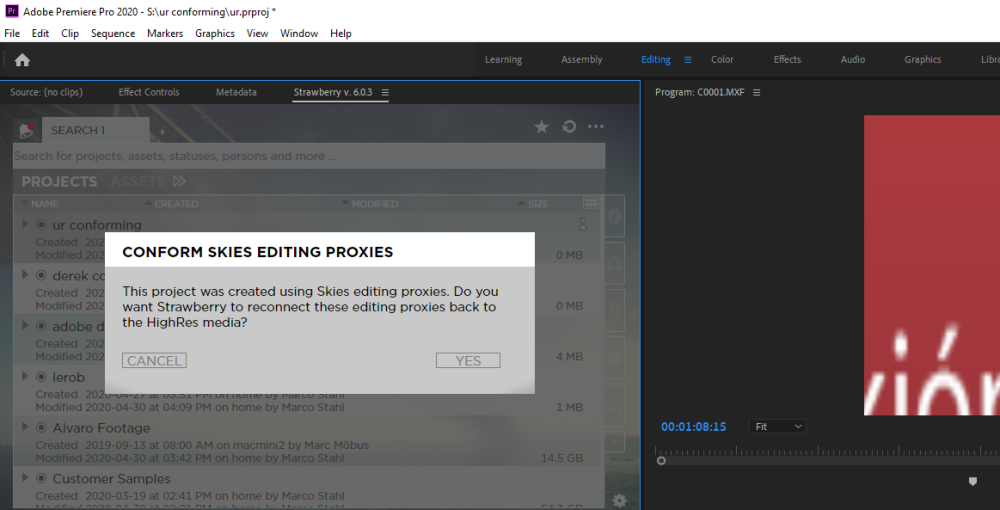
8. As soon as the panel has launched it will inform you that the open project is a “remote editing project” created based on editing proxies. You are asked whether you would like to relink the offline editing proxies back to their original HighRes media files. Click “Yes” to start the conforming process or “Cancel” to abort.
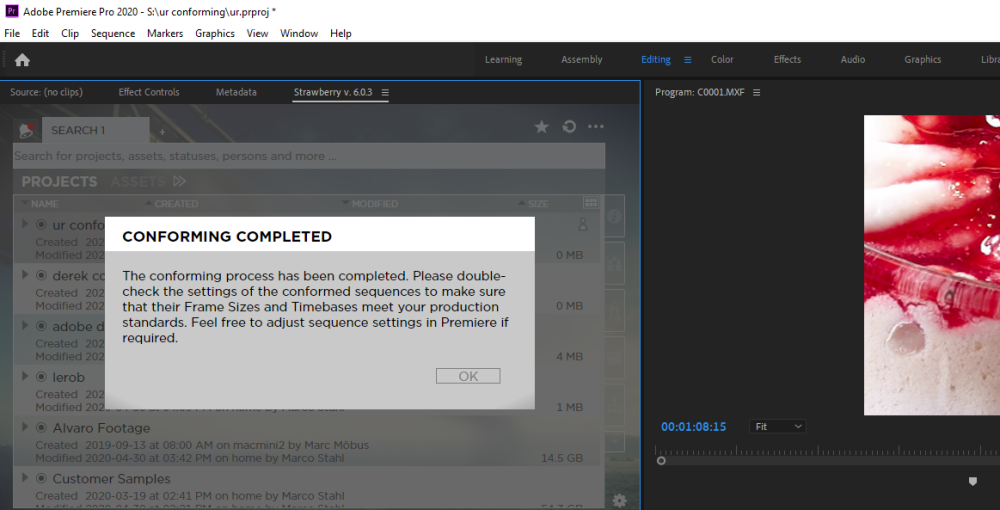
9. Once the conforming process has been completed you will be reminded to review the Premiere sequence settings of the conformed sequences. Press “OK” to proceed.
10. Right-click on one of the conformed sequences and select “Sequence Settings” from the context menu
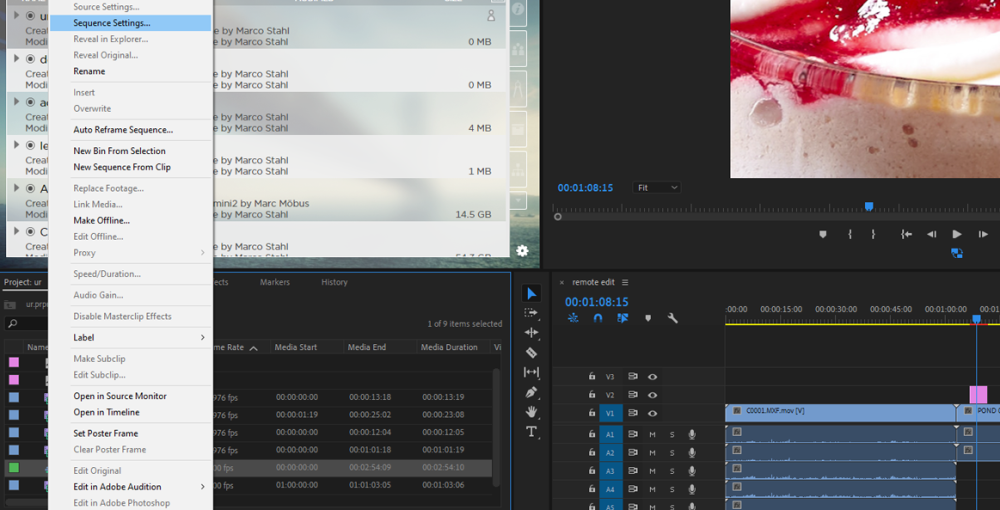
11. Check the sequence settings and adjust if needed. Repeat steps 9 and 10 for all conformed sequences.
Troubleshooting
If you have encountered issues during or after the conforming process please visit the troubleshooting section for additional help.
Need more help with this?
Visit the Projective Support Websites