
Requirements
- Creating projects is only possible for users who have the capability “Can create new projects” enabled in their user role.
- As of Strawberry version 6.4.16, projects can be created via a web browser.
1. log in to the Strawberry UI via the desktop client application or a web browser.
2. Click on the “New” button in the upper right corner of the user interface

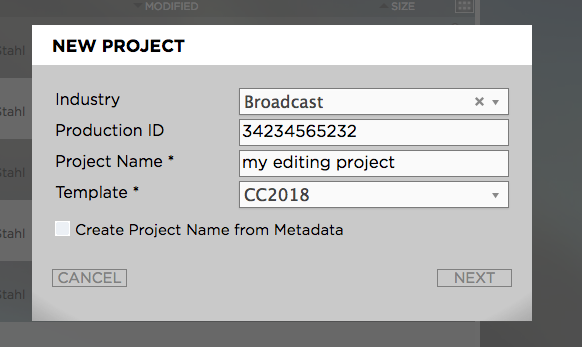
3. Provide the project metadata as requested by the application. Then click “Next”.
4. Add a description to your new project. The description will become searchable once the project has been created. Then click “Next”.

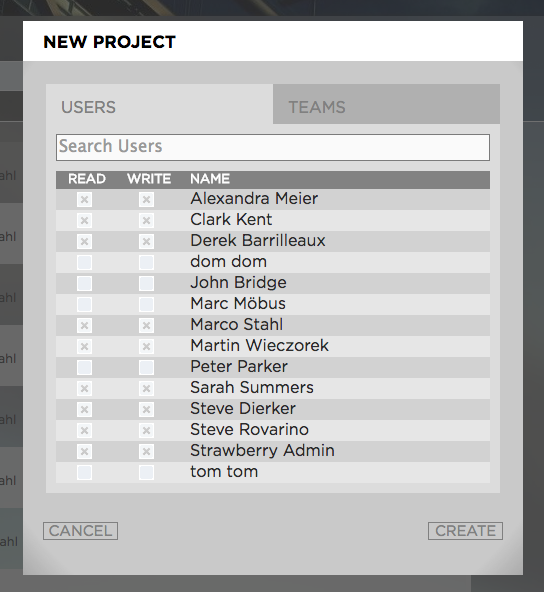
5. Assign the project to individual users or to teams by using the “Users” and “Teams” tabs. Users with “read & write” access will be able to open and modify the project on their workstations. Users with read-only access will be able to see and browse the project in the Strawberry user interface but will not be able to open it for modification. Then click “Create”.
6. Once the project has been created it will automatically be opened on your editing workstation. Depending on the Strawberry server configuration, the project will either appear inside the pre-defined Strawberry drive letter (Windows) or volume (macOS).
Need more help with this?
Visit the Projective Support Websites