You can upload your remote editing project back to the on-premise system into a new or existing Strawberry project.
Uploading the Remote Editing Project to a New Strawberry Project
1. In the Skies panel, click on the “star” icon in the upper right corner
2. Provide the usual metadata, templates, and access rights. Click here if you don’t know how to create a Strawberry project.
3. Proceed with step 3 of the below section “Uploading the Remote Editing Project to an Existing Strawberry Project”
Uploading the Remote Editing Project to an Existing Strawberry Project
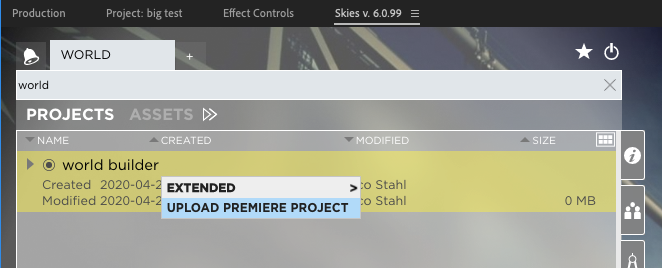
1. In the Skies panel, select the project to which you want to upload your remote editing project
2. Right-click on the project name and click on “Upload Premiere Project”

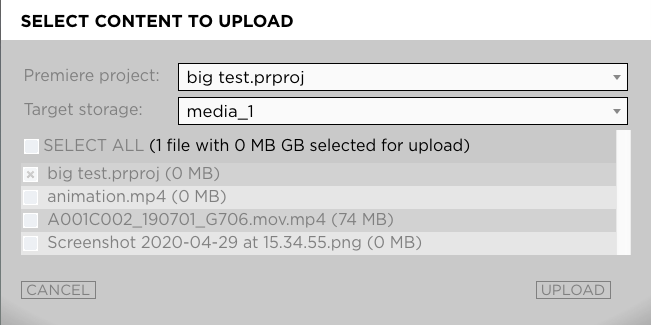
3. In the “Select Content to Upload” window, you are presented with the following options

- Premiere Project: If one than more project is opened in Premiere, you will need to select the one that you want to upload
- Target Storage: If Strawberry is managing more than one storage on the on-premise system, then you need to select the storage to which the content should be uploaded. If the on-prem Strawberry is managing one storage only, then the “Target Storage” selection menu will not be shown.
- List of local files: If the Premiere project you are about to upload contains local media, then you need to select which of these files should be uploaded. Editing proxies are not considered local media, which is why they don’t appear in that list. They are not required for the conforming workflow either.
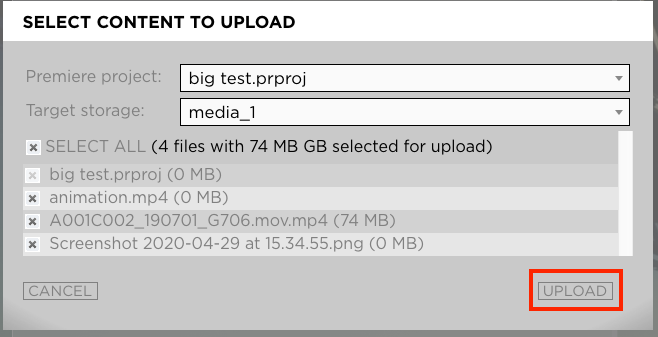
3. Make your choices and press the “Upload” button

- The files will now be upload to the project and dropped into a folder called “Skies Uploads/Premiere-Projectname/Date”
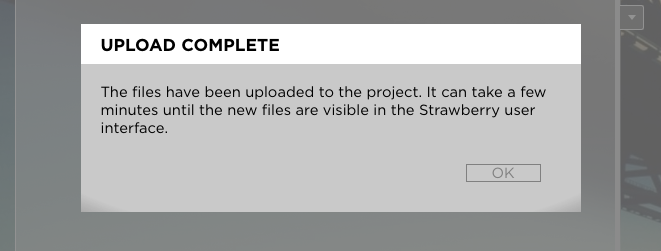
4. Once the upload has been completed you will see a success message. Click “OK”

Need more help with this?
Visit the Projective Support Websites

