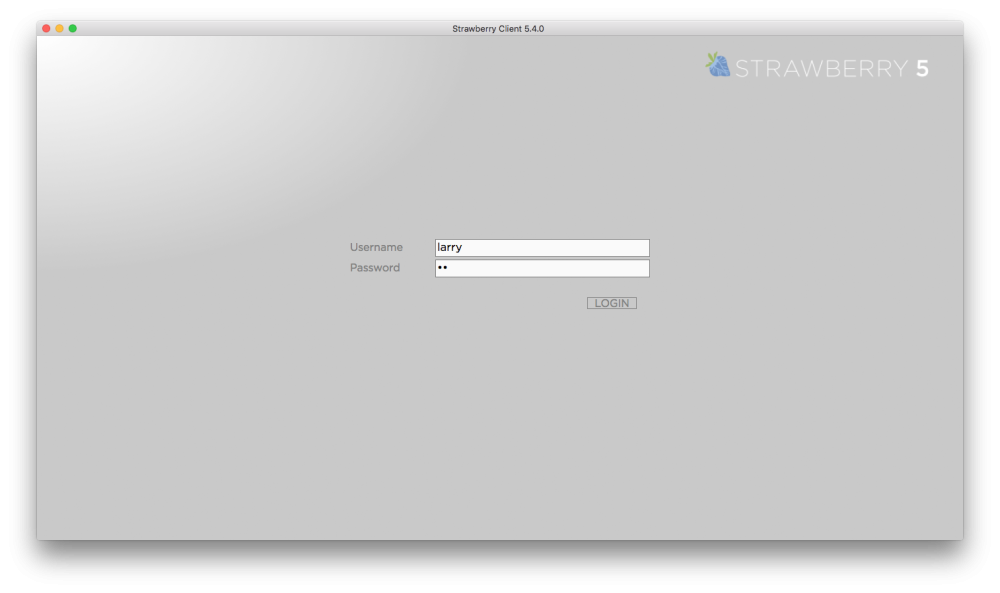
1. Open the Strawberry client application on your computer or access Strawberry by entering its IP address (or hostname) into a web browser
2. Provide your username and password and click on “Login”
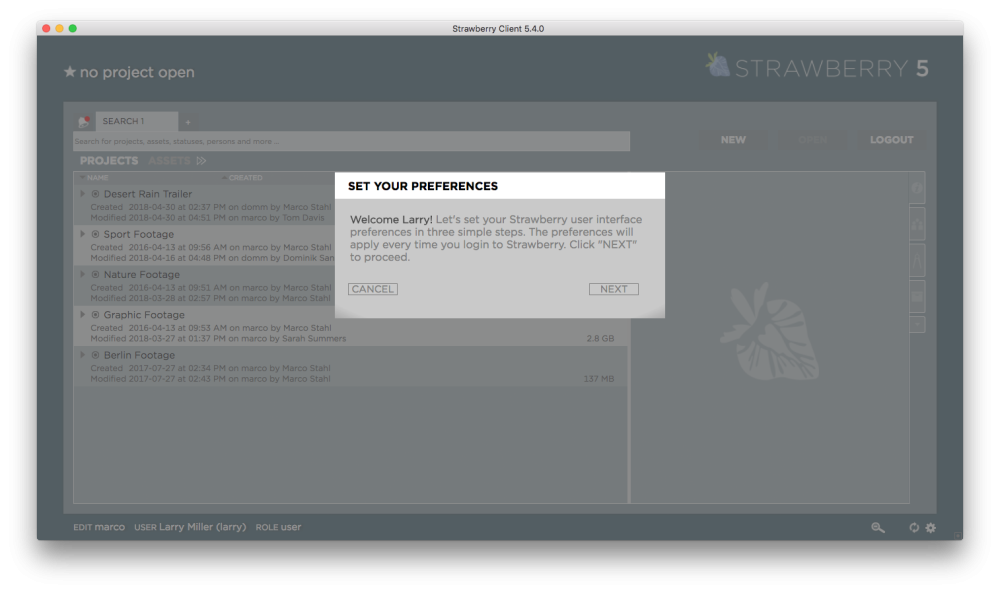
3. If this is your first login, the Strawberry configuration wizard will guide you through the basic setup process of your personal settings. Click “Next” to get started.
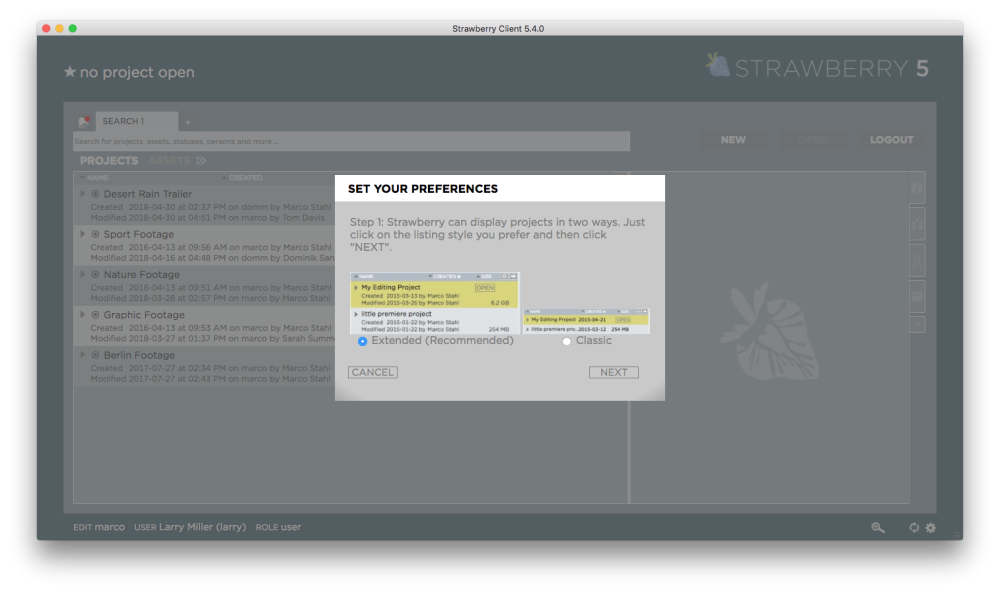
4. Tell Strawberry how you would like to see the project list. The “extended” view provides more information for each project, while the “classic” view provides more projects per page. Once you have decided, click “Next.”
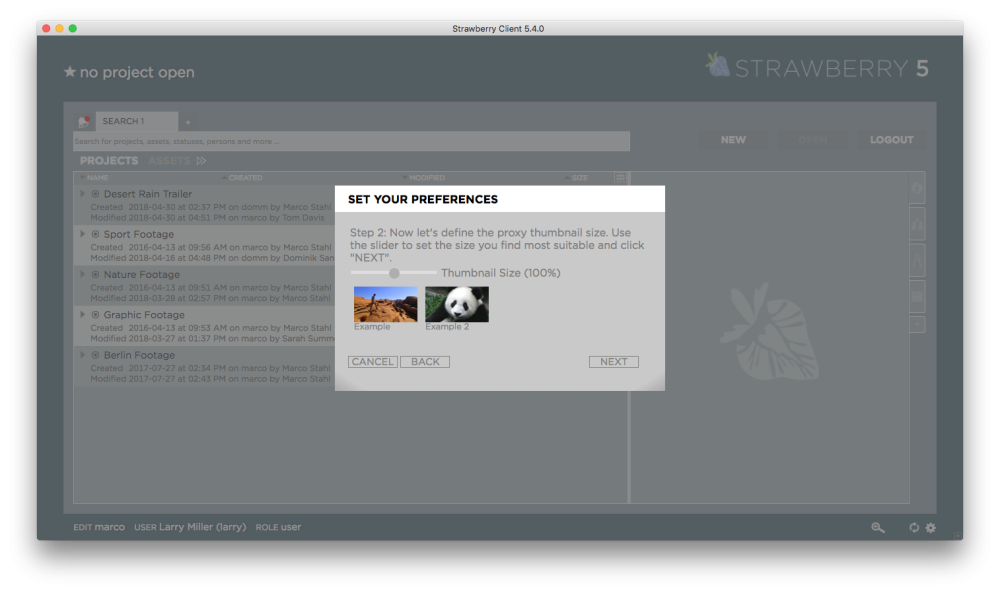
5. Define the size of proxy thumbnails by moving the slider to the left (smaller thumbnails) or the right (larger thumbnails). Once you have decided, click “Next.”
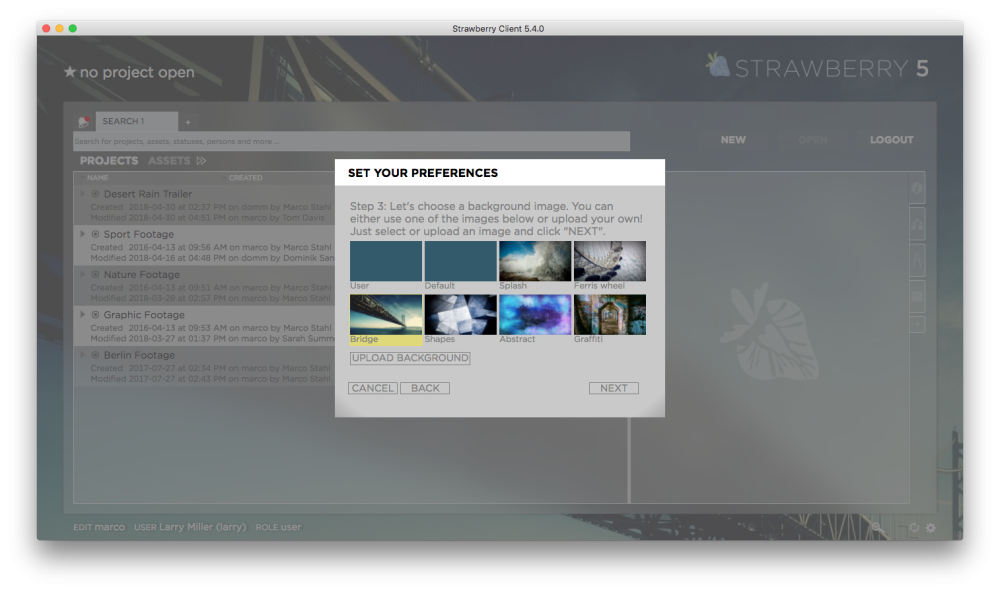
6. Select one of the included Strawberry background images or upload your own by clicking on the “Upload Background” button. When uploading your own background, please make sure that it has a resolution of at least 1920×1080 pixels. If you are usually working on a 4k or 8k screen, make sure to upload a background image with a proper size. Once you have decided, click “Next.”
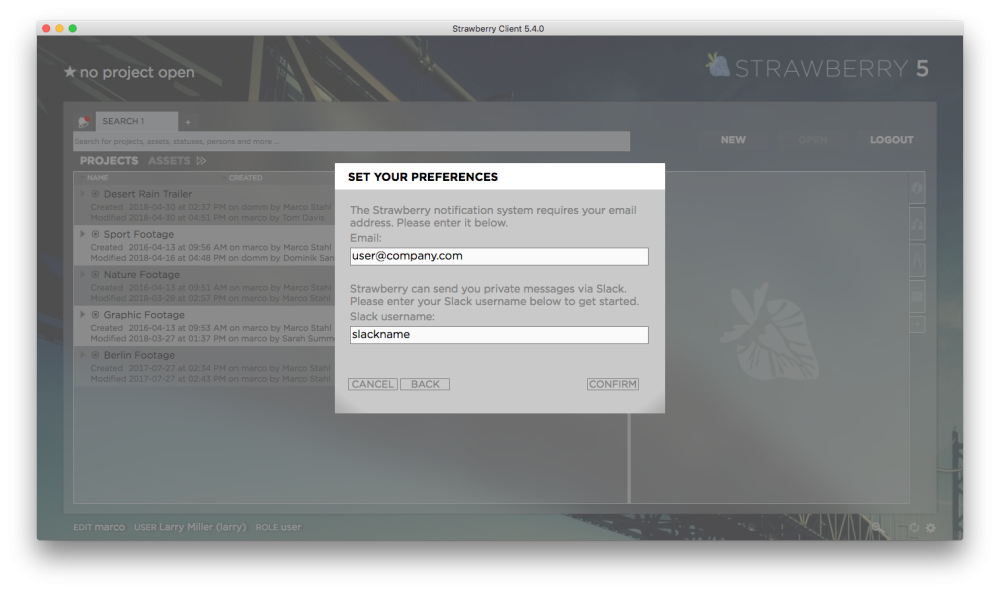
7. Enter your work email address and, if prompted, your Slack username. Click here if you need help in identifying your Slack username. Then click “Confirm.”
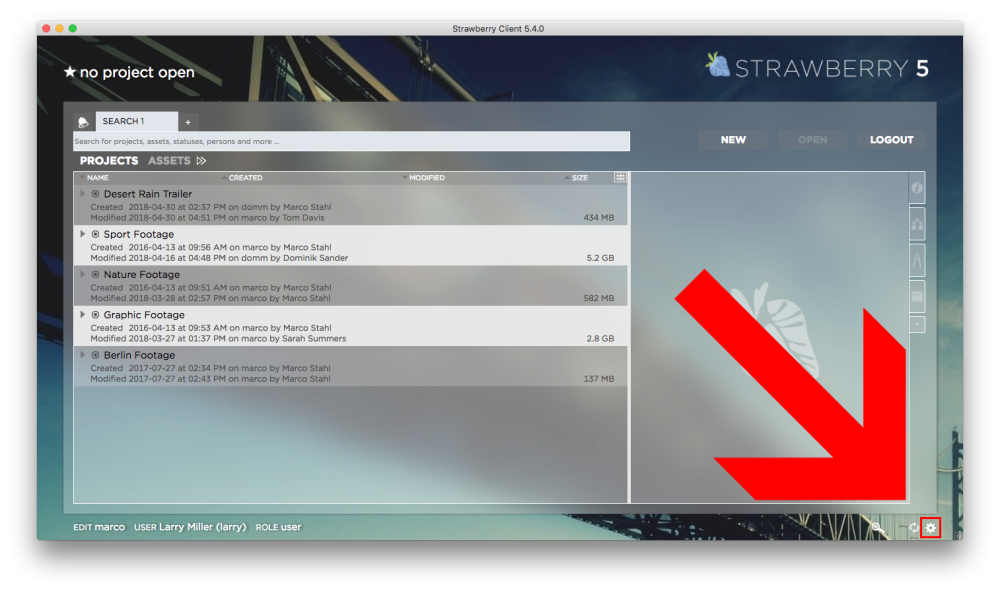
8. In the last step, click “Done.” Once you are logged into Strawberry, you can change your settings at any time by clicking on the settings wheel in the lower right corner of the user interface.
Need more help with this?
Visit the Projective Support Websites

