
Configuration
1. Start the Strawberry client application.
2. On the Configuration screen, click next.
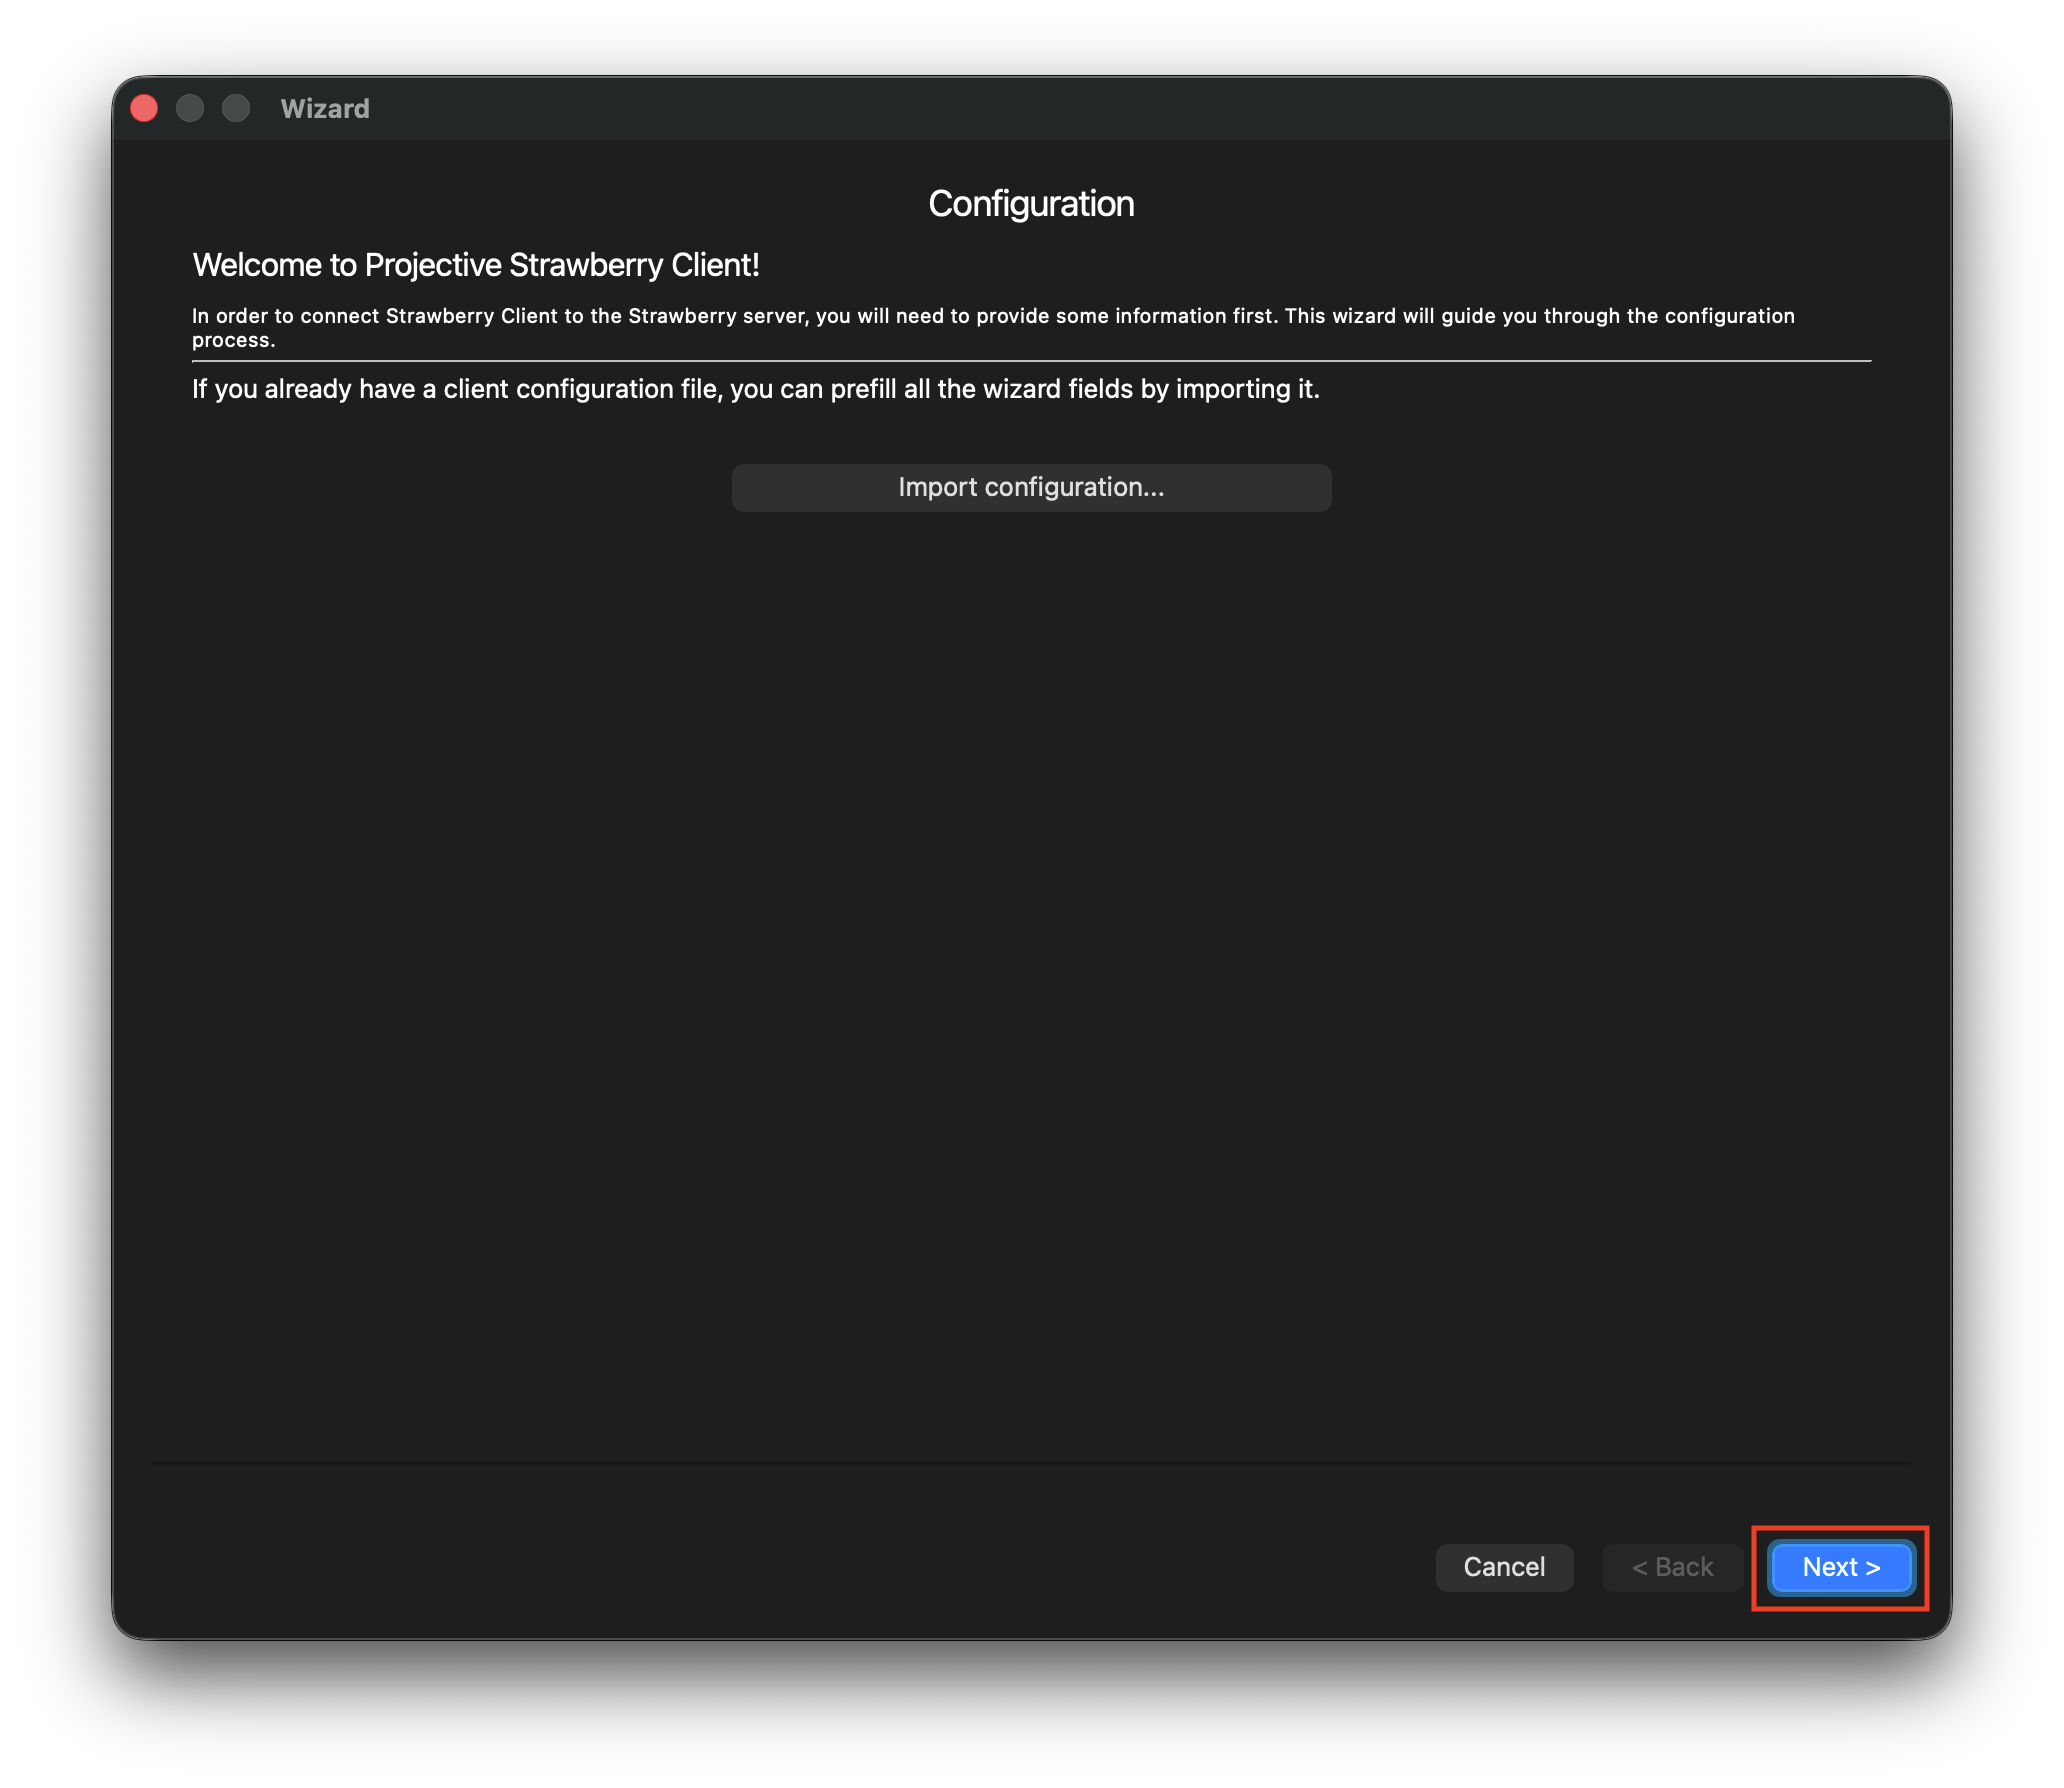
3. In the Server Configuration section, you need to provide the following information:
Strawberry Server
Enter the full URL of your Strawberry Skies server, including the https:// prefix. If you have been invited to Skies by another user, you will find this URL in the subject line of the invitation email in your inbox. If you are unsure what the URL of your company’s Strawberry Skies server is, please contact your Skies Administrator.
Name of this edit
Choose a name that uniquely identifies your Computer. An example of a valid name is sarah-remote.
Storage Type
The storage type is determined automatically and should show Lucidlink Filespace in green letters.
Here is an example configuration
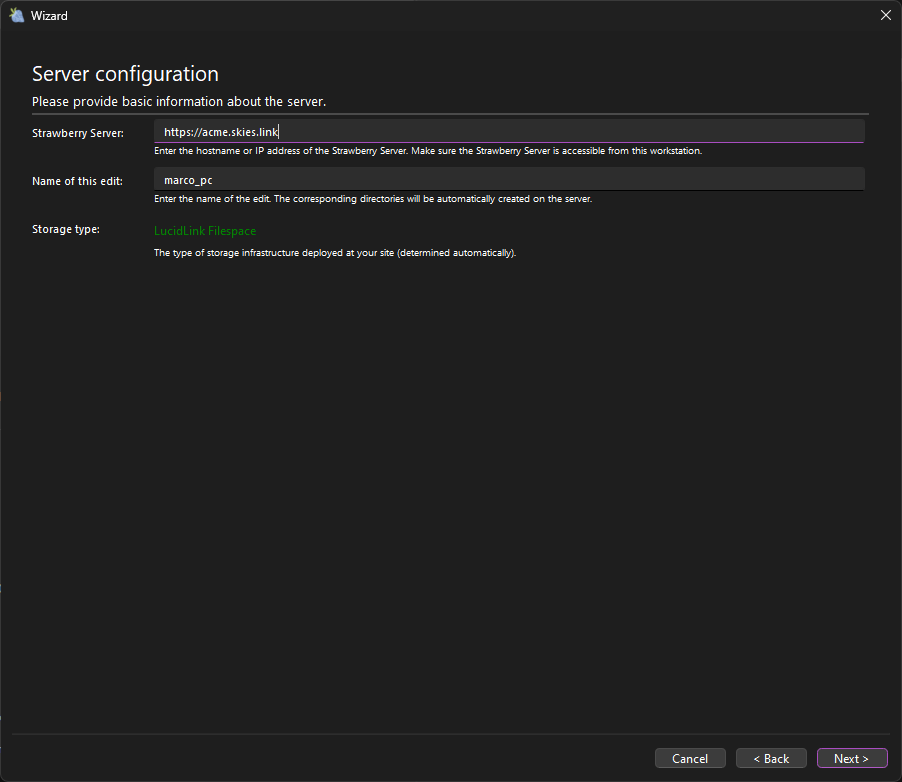
4. Click Next.
5. Choose whether you want to have desktop shortcuts for open projects and whether you want to mount the Lucidlink filespace via Fuse (default) or SMB. SMB is only recommended if you are using Photoshop.
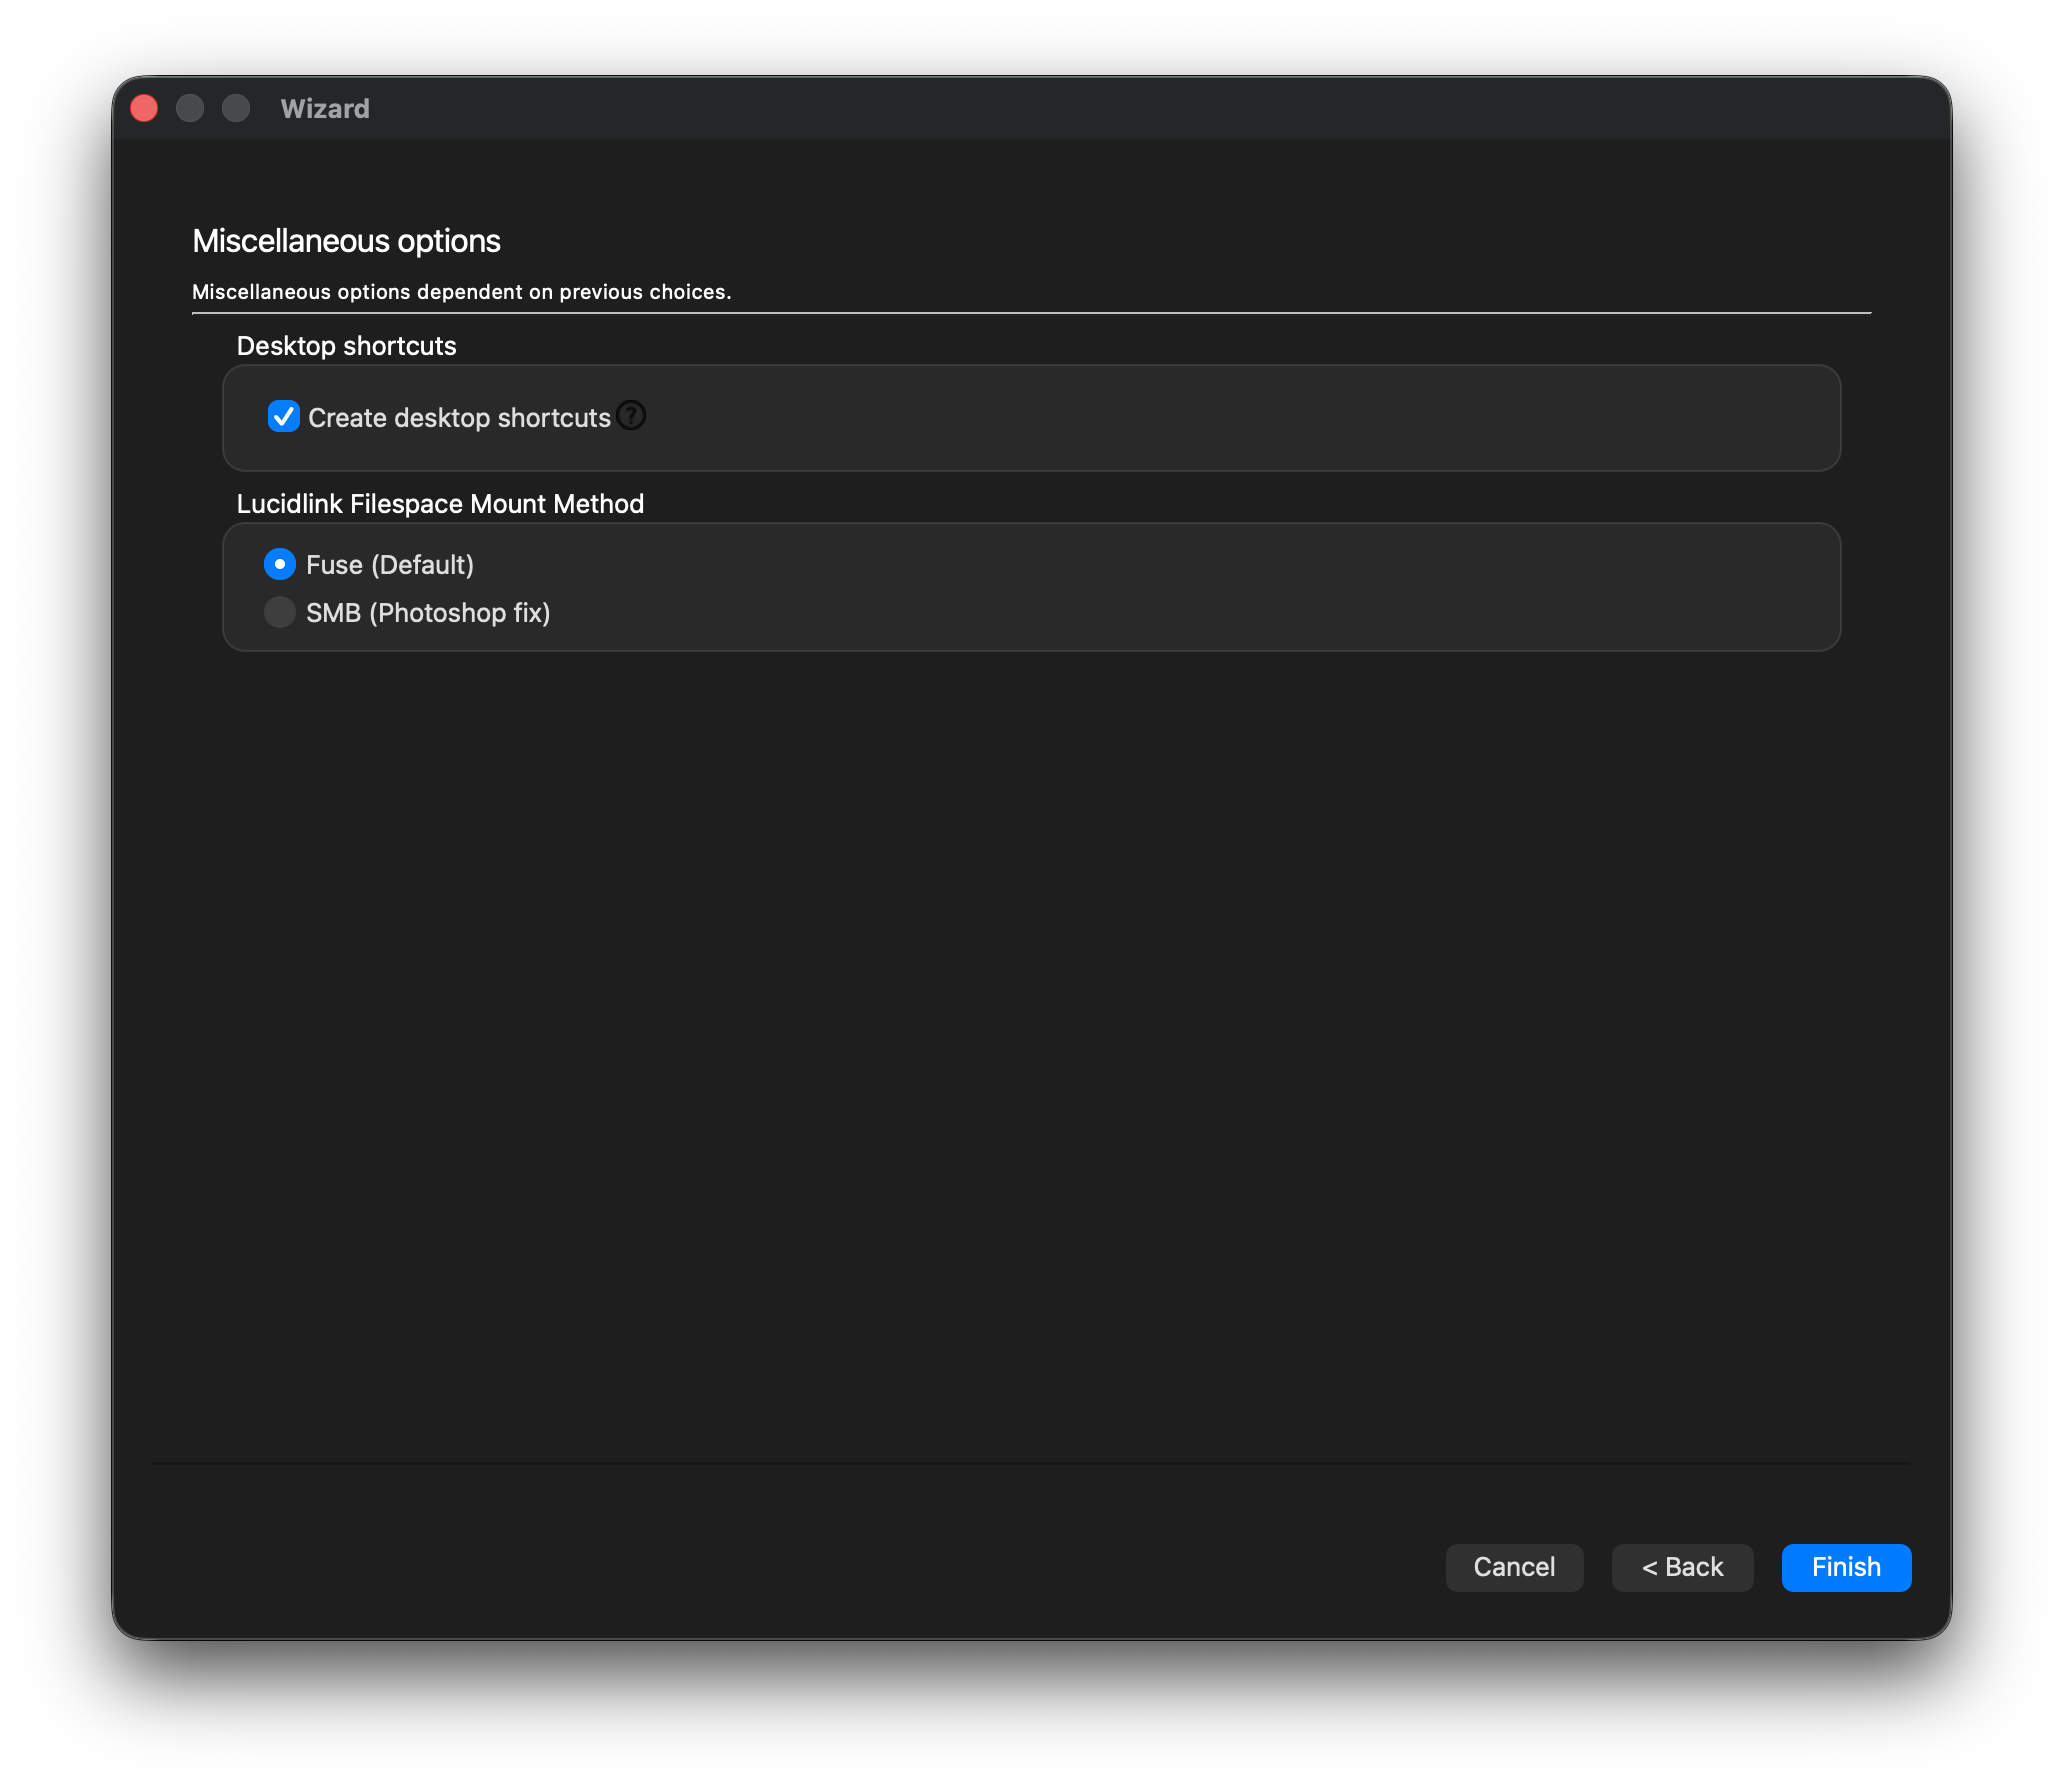
6. Click Finish.
7. The Strawberry client will automatically connect to your organization’s LucidLink filespace upon launch. If this is the first launch of the Strawberry client on this computer, you need to grant additional permissions to the Strawberry client.
8. You can now log in with your Strawberry credentials and open projects.