
Introduction
The following steps will walk you through the LucidLink client installation process. Please always download supported LucidLink from the designated Projective download portal, not the LucidLink website. This will ensure that the LucidLink client you installed is compatible with your Strawberry version.
Installation
1. Double-click on the Lucidlink .msi file. For optimal compatibility, make sure to use the version linked here.
2. Locate your installation download and double-click to initiate installation.
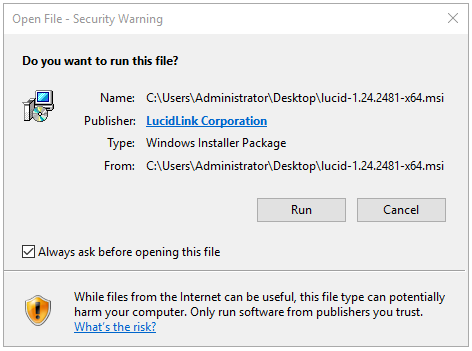
3. You may receive a security warning. You can confirm our LucidLink Corporation digital signature is valid. When satisfied, please select Run to continue.
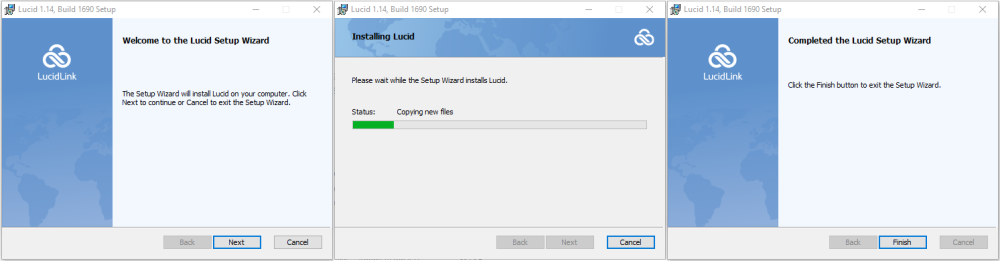
4. Once the LucidLink client installation wizard appears, please agree to the license terms and conditions to continue with your installation. Then, follow the guided installation wizard to complete your installation.
5. That’s it! You have successfully installed the LucidLink client. Please note that you don’t need to connect to a filespace yet.
6. Now proceed with the installation of the Strawberry client application.