Preparation
- Ensure the client is installed.
- Make sure that the Strawberry-managed storage location
media_1/mediais accessible by the client computer.
First-time Configuration
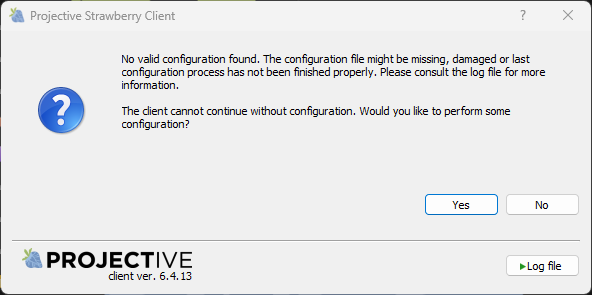
1. When you start the Strawberry client for the very first time, you will be greeted with a “No valid Configuration found.” message.
2. Click Yes to proceed.
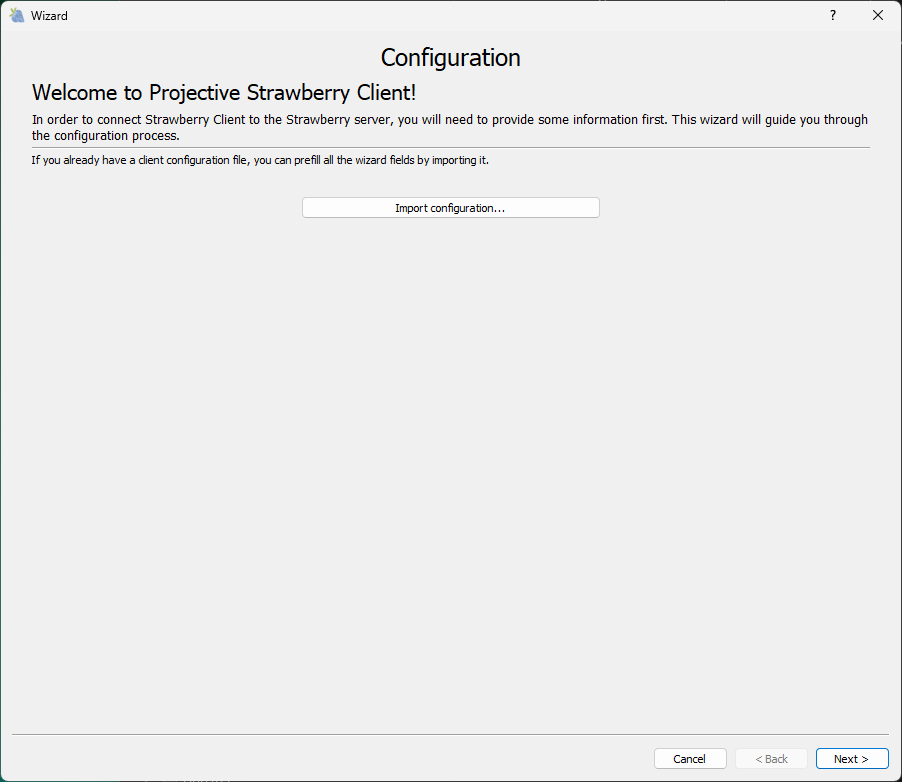
Welcome Screen
3. On the next window you are offered to import an existing configuration file. If you have an existing configuration file, click on the Import button and select the file. This will pre-populate most values that are needed for the configuration. If you don’t have an existing configuration file click Next >. When clicking Next > you will be directed to the Server Configuration.
Server Configuration
4. In the Server Configuration, you must enter…
- .. the hostname or IP address of the Strawberry server. When using SSL, please type
https://in front of the hostname or IP address. - … the name of the edit on which you are currently performing the configuration. Please ensure that the edit name does not contain spaces, as this can cause problems with SMB down the line.
The Storage Type will be automatically detected.
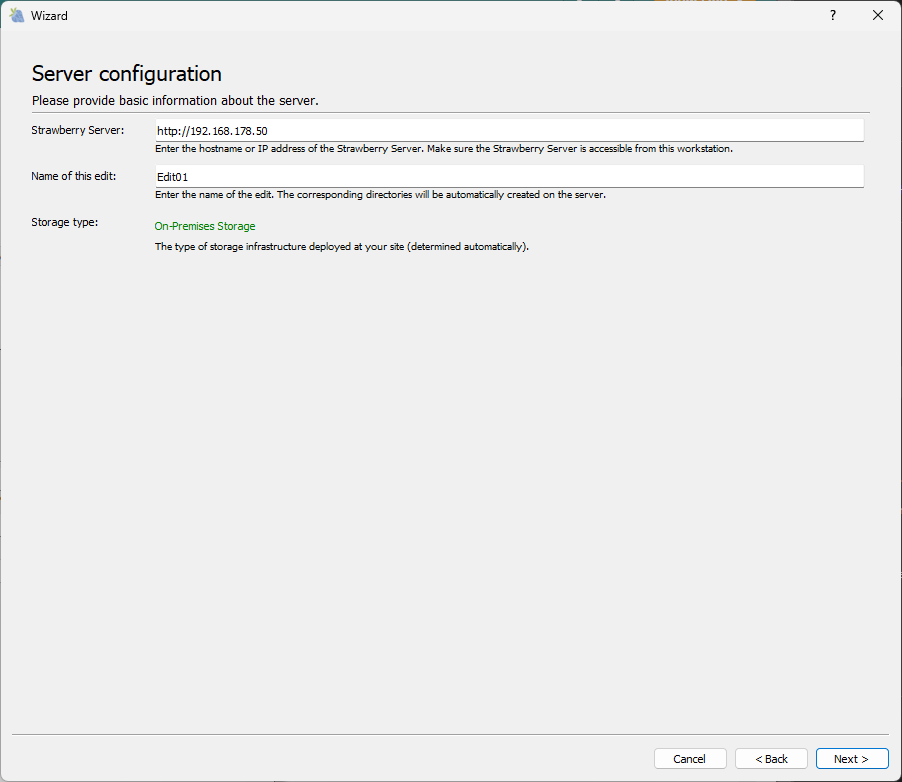
5. When finished, click Next >.
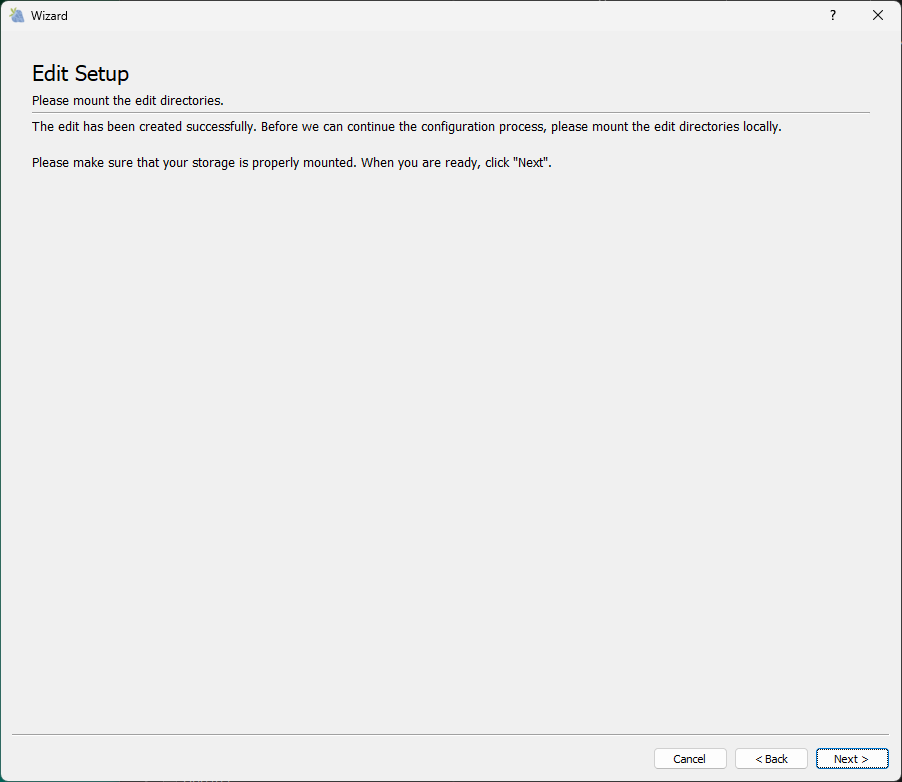
6. The client will now inform you that the storage needs to be mounted to proceed with the configuration process. media_1/media is mounted on the client’s computer, and it can be accessed.
7. Click Next > to proceed. You will be directed to a page called “Shared Edits mounts configuration”.
Shared Edits Mounts Configuration
9. In the Shared Edits mounts configuration you need to provide the following information:
- Drive Letter: the drive letter under which open Strawberry projects should be mounted on the client machine. Make sure that this drive letter is the same across all your edits!
- Use storage name as prefix for open projects: Only check this box, if your Strawberry server manages more than one physical storage volume. Otherwise, keep the box unchecked.
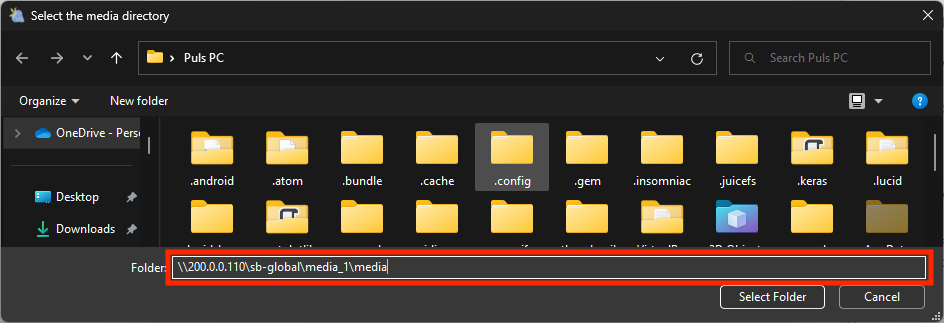
- Storage mount points: Click the
Addbutton and navigate tomedia_1/mediadirectory on your storage. Alternatively, you can also click theAddbutton and then enter a UNC path into theFolderfield as shown here:
10. Click on the Select Folder button to set the path.
11. Click Next > to proceed. You will be directed to a page named Paths to editing applications (Aka. App Launcher)
App Launcher
11. Please visit the App Launcher Configuration chapter to learn how to configure App Launcher.
12. When finished, click Next >. You will be directed to the “Miscellaneous Options”.
Miscellaneous Options
- Create desktopsShortcut: When opening a project, Strawberry will create a desktop shortcut to the project mount. This is a convenience feature for users.
- Perform UID/GID challenge: This is a debug setting for support purposes. Only change this when instructed by support.
- Storage Whitelist: Can be ignored.
- Library Paths: Can be ignored.
13. Click Finish to finalize the configuration. The client will restart automatically.
Need more help with this?
Visit the Projective Support Websites


