
1. Start Osiris
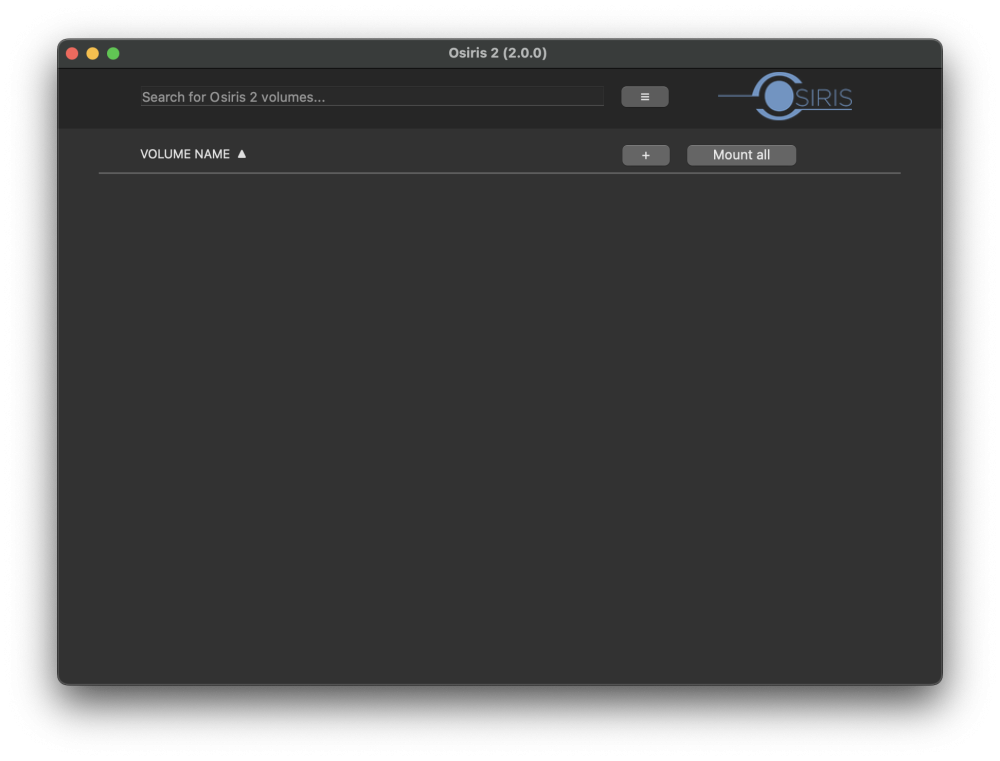
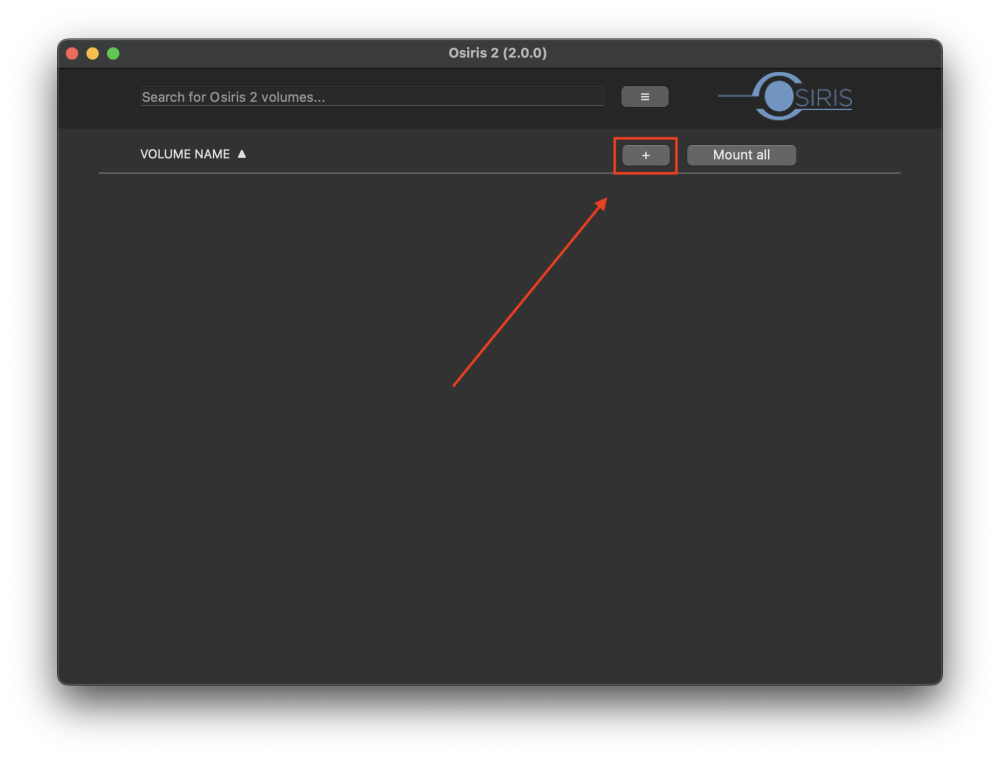
2. to create you first Osiris volume click on the + or drag and drop a folder from Finder into the Osiris 2 window.
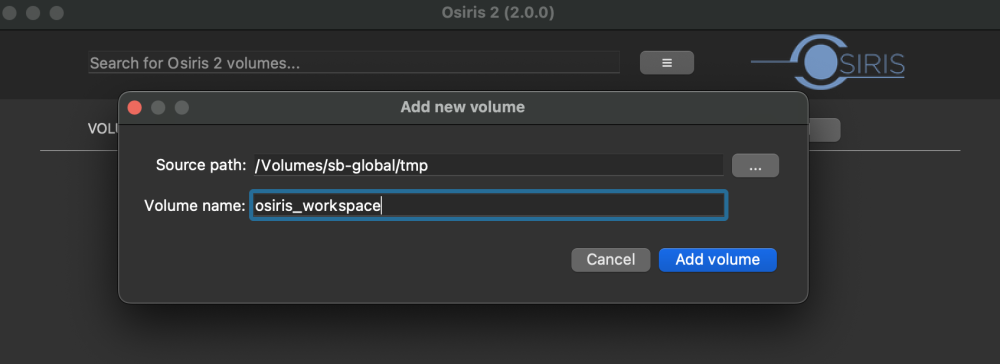
3. Click on the “…” button next to “Source path” and navigate to the network location that you would like to mount as an Osiris volume
4. In the Volume name field, provide a name for your new Osiris volume (Please avoid spaces in volume names but use underscores instead)
5. Now click on the Add Volume button.
6. Repeat the steps 2 – 5 to create additional Osiris volumes.
7. Mount a volume by clicking on the “Mount” button next to its name or click on the “Mount all” button to mount all of your Osiris volumes. You can mount up to 20 Osiris volumes simultaneously.

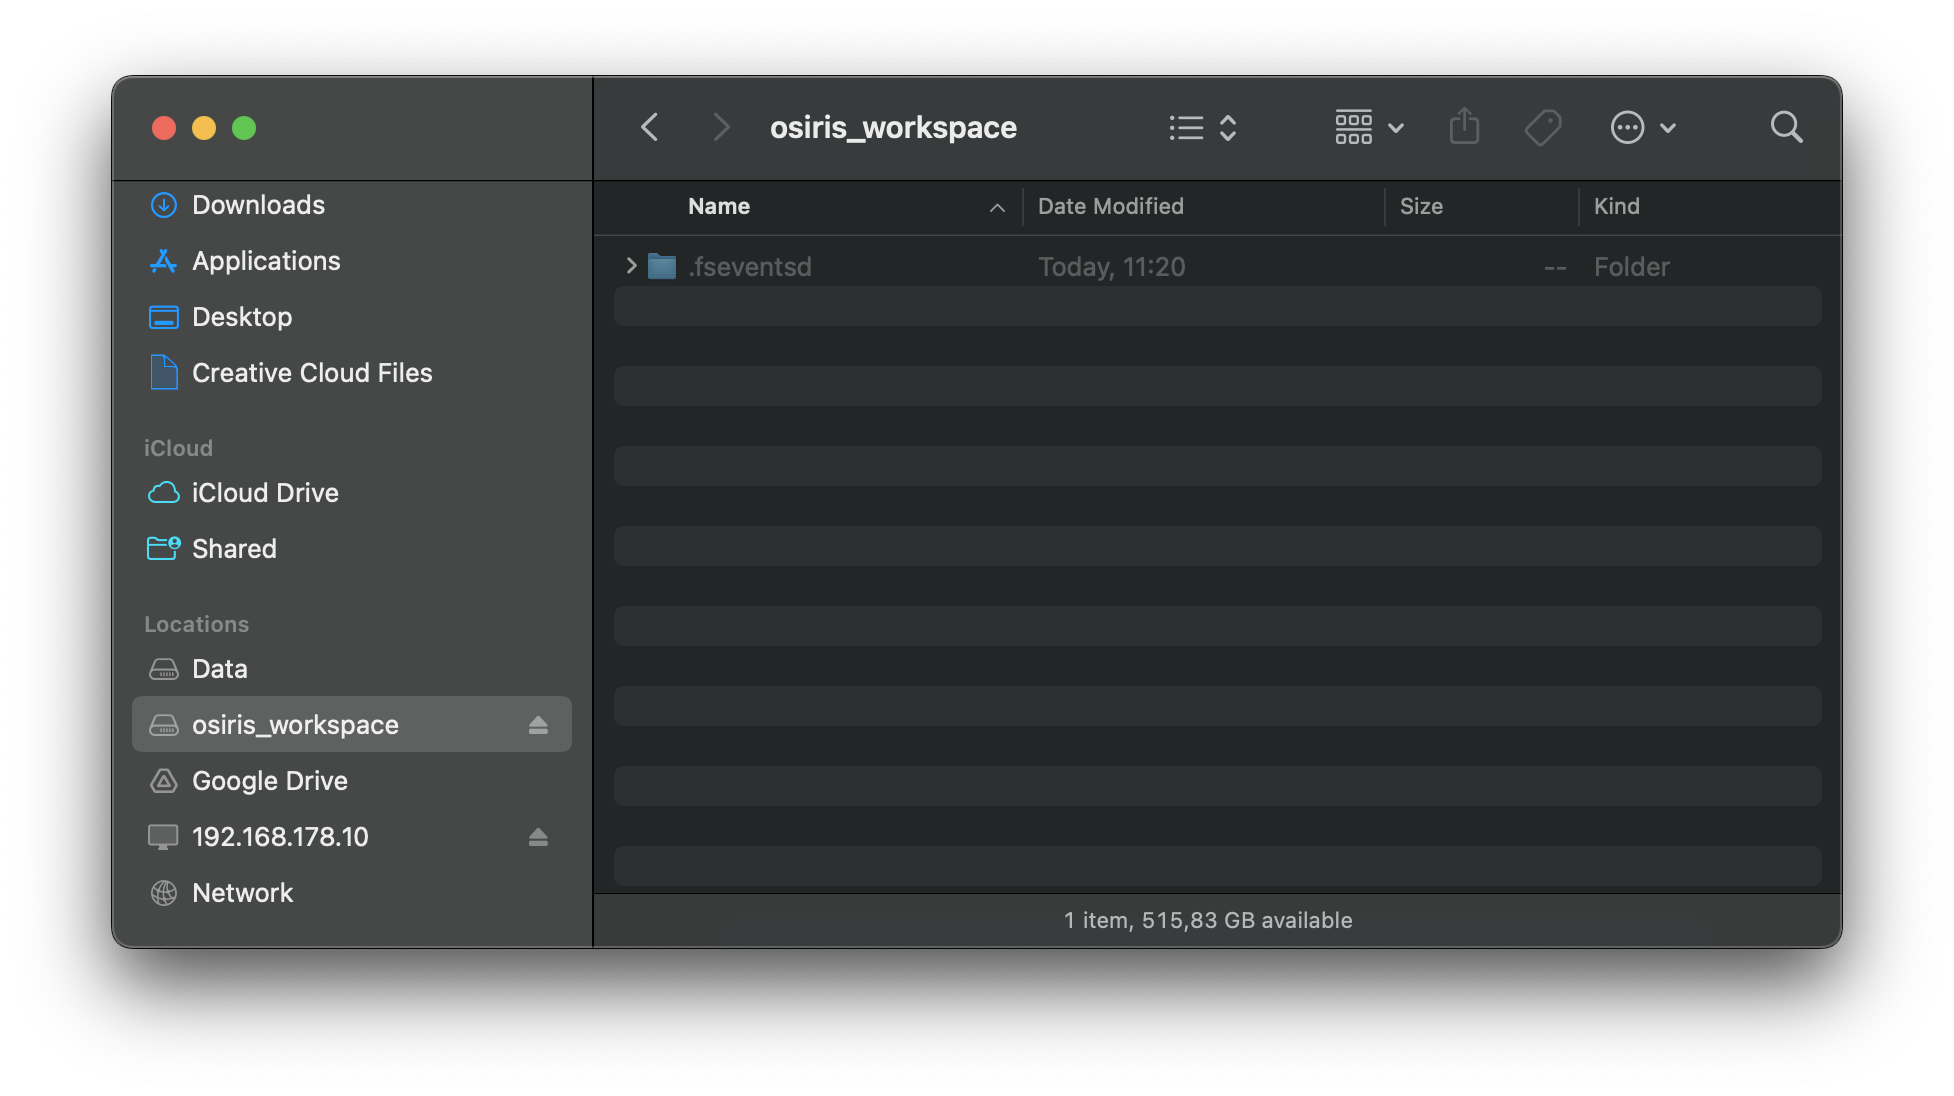
8. Your Osiris 2 volume will now appear in the macOS Finder.
9. Launch Avid Media Composer™.
10. In the Select Project window, navigate the Osiris volume that you would like to work on

11. On the Osiris volume, create a new Avid project and open it
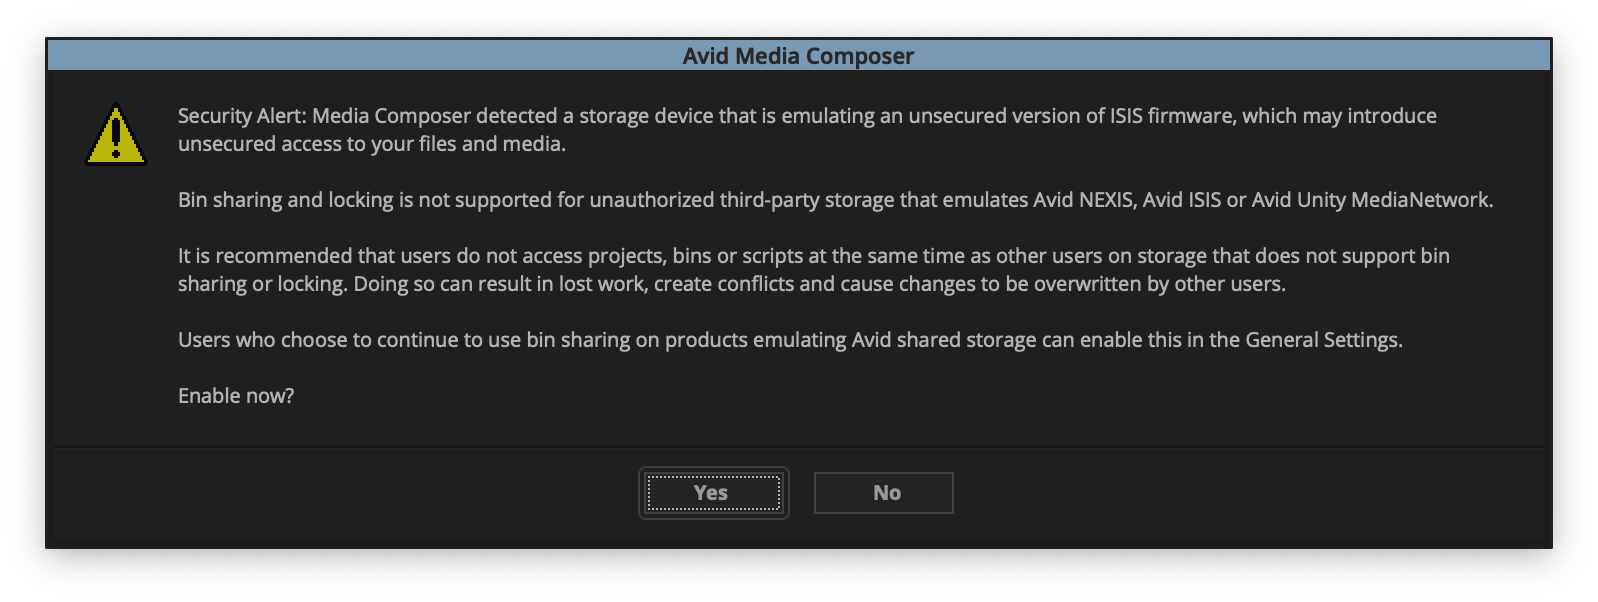
12. Avid will no prompt you with the following message. This is Avid’s way of saying that third-party bin locking is enabled. Answer the question with Yes.
13. You are now in bin locking mode. If you would like multiple people to open the same project on another editing workstation, install Osiris there and repeat the above steps 1-4. Make sure that the shared Osiris volumes have the same names and paths on all your editing workstations!
Need more help with this?
Visit the Projective Support Websites